
Solidworks飞剪机构仿真
2016-11-12 by:CAE仿真在线 来源:互联网
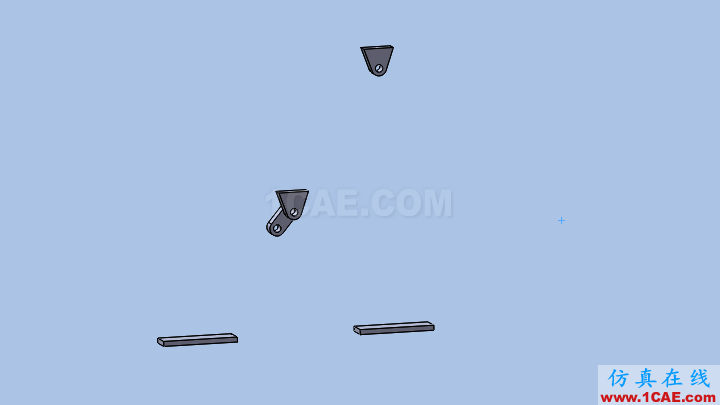
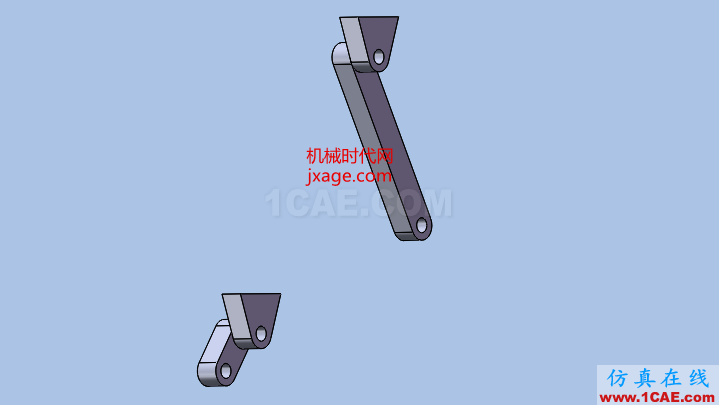
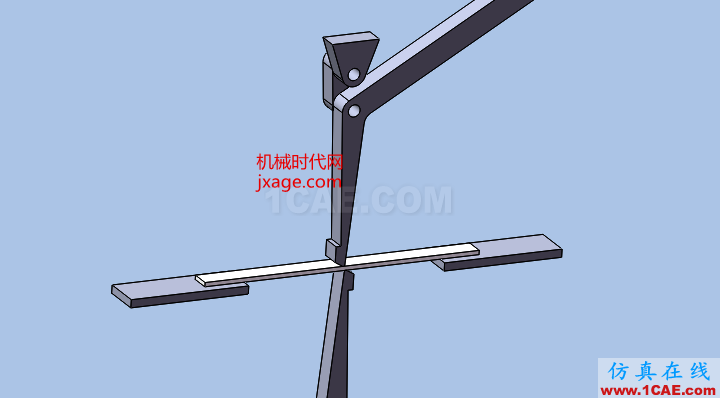
一、装配


二、仿真
在装配体界面,将Solidworks Motion插件载入,单击布局选项卡中的运动算例,在算例类型下拉列表中选择【Motion 分析】。
1.添加驱动力矩
单击工具栏中的“力”按钮,按照下图为上剪切机构曲柄设置参数,大小为200N.mm。

采用同样的方法为下剪切机构曲柄添加扭矩,大小与前一个扭矩相等。

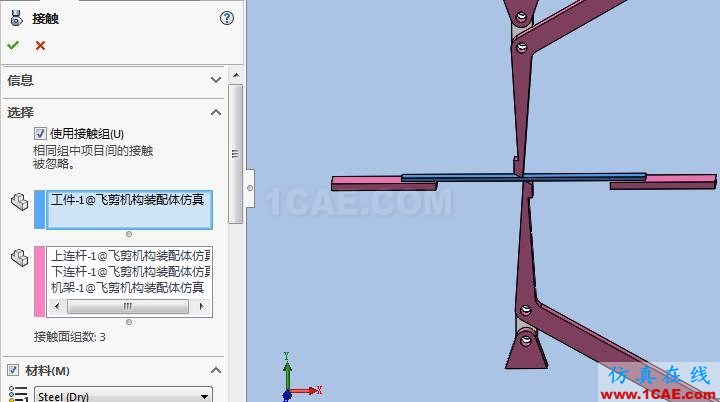
2.添加接触。单击接触按钮,为工件与上连杆和下连杆以及机架添加一个接触组。
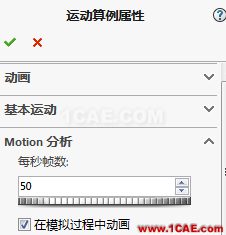
3.仿真参数设置。在运动算例属性的【Motion分析】栏内输入每秒帧数50。在MotionManager工具栏上的“计算”按钮,对整个机构进行仿真求解。
4.仿真结果分析。
1)绘制上下剪刃运动轨迹。单击MotionManager工具栏上的“结果与图解”按钮,按照下图进行设置。

采用同样的方法创建下剪刃的运动轨迹。
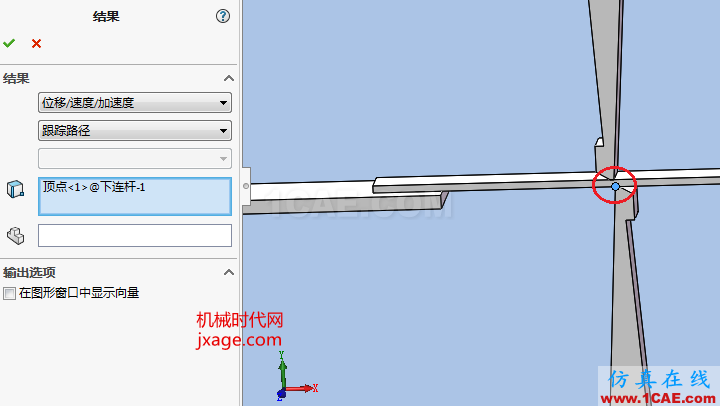
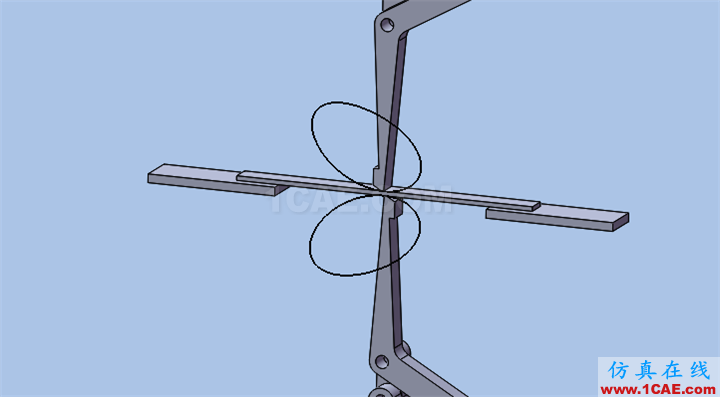
点击工具栏上的计算按钮,即可创建出上下剪刃的运动轨迹。
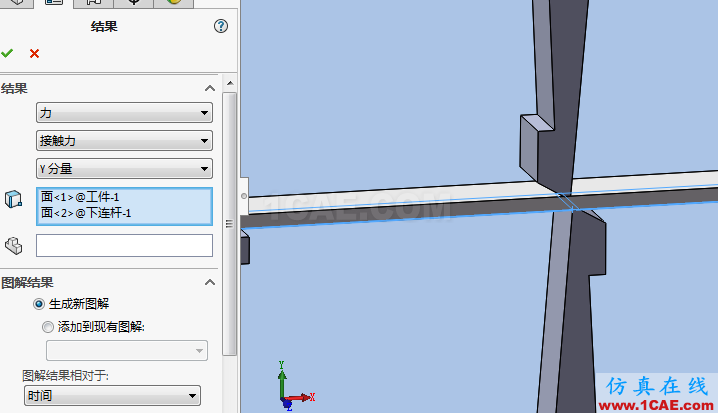
2)测量剪切力。按照下图进行设置测量上和下剪刃对工件的剪切力。
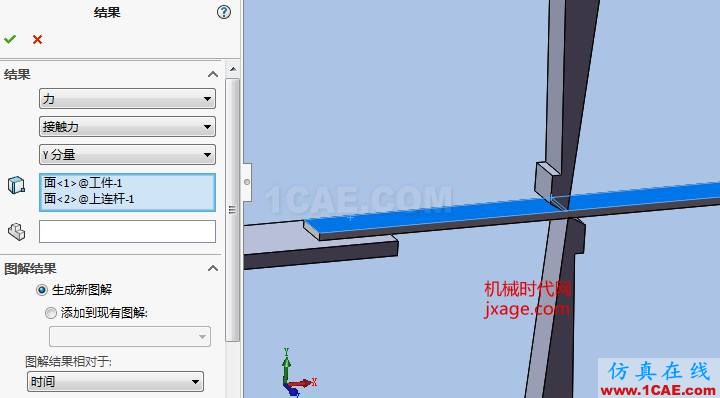
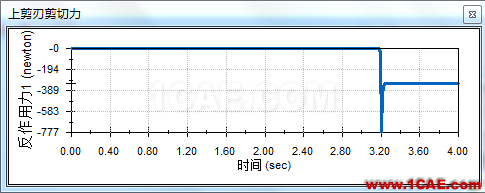
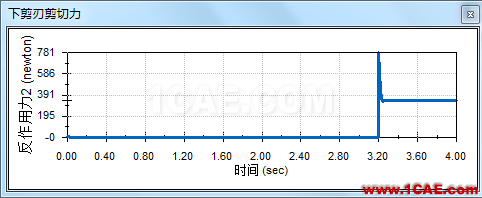
点击勾号完成,测得的剪切力曲线如下图所示。
开放分享:优质有限元技术文章,助你自学成才
相关标签搜索:Solidworks飞剪机构仿真 SolidWorks培训课程 SolidWorks设计教程 SolidWorks视频教程 SolidWorks软件下载 SolidWorks在建筑室内设计工业设计的应用 SolidWorks基础知识 SolidWorks代做 Fluent、CFX流体分析 HFSS电磁分析 Ansys培训 Abaqus培训 Autoform培训
编辑


