
UG装配出图教程【转】
2016-10-31 by:CAE仿真在线 来源:互联网
现在越来越多的厂家采用UG出图纸,大部分都是直接在PRT档出图。优胜UG全3D培训教学采用UG装配模式出图,管理方便、效率更高、查看图纸更方便,详细操作步骤如下:
一、把UG出散件图模版文件“Part_dwg.prt”复制到总装配文件目录下
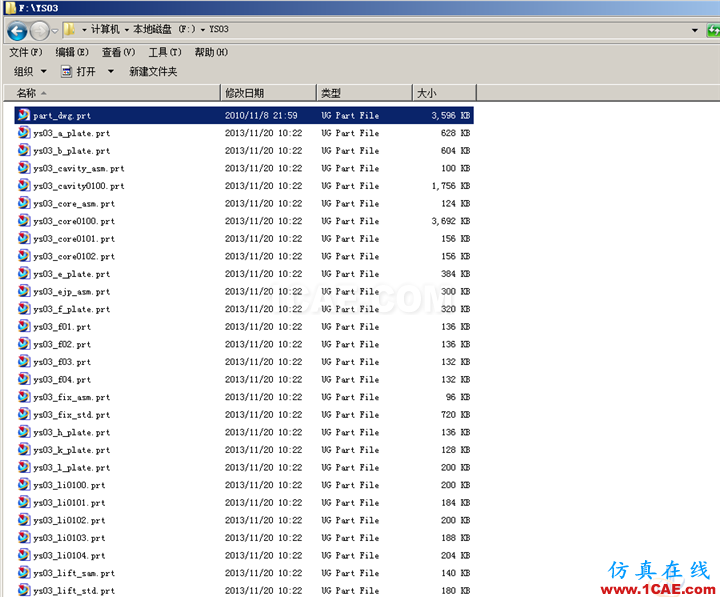
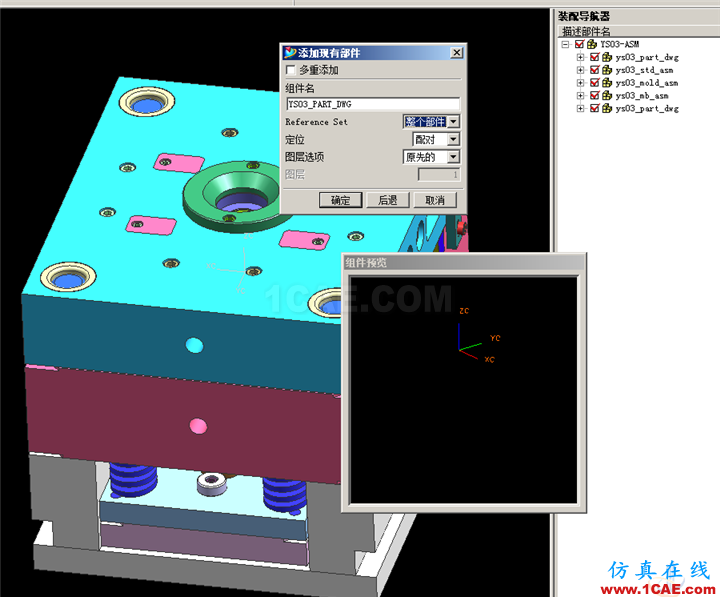
二、“Part_dwg.prt”文件名加上前缀模号,并用装配-添加组件命令,挂到总装配下
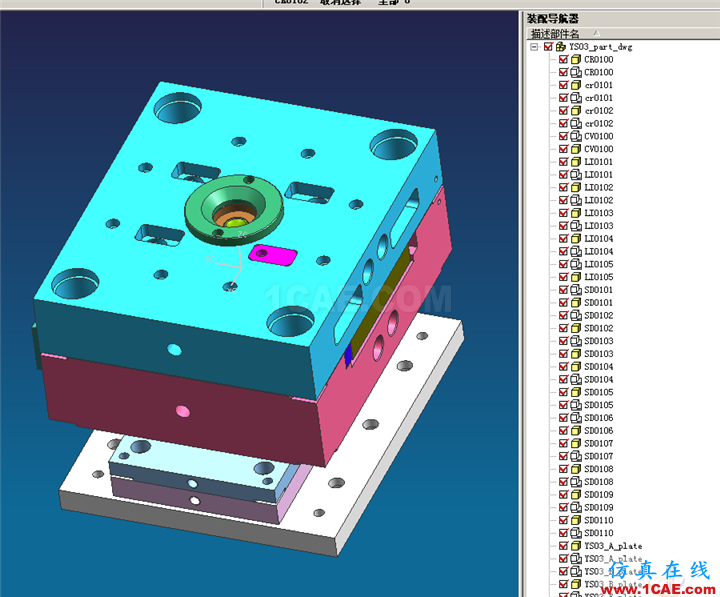
三、把要出图纸的文件复制到“ys03_part_dwg.part”文件下
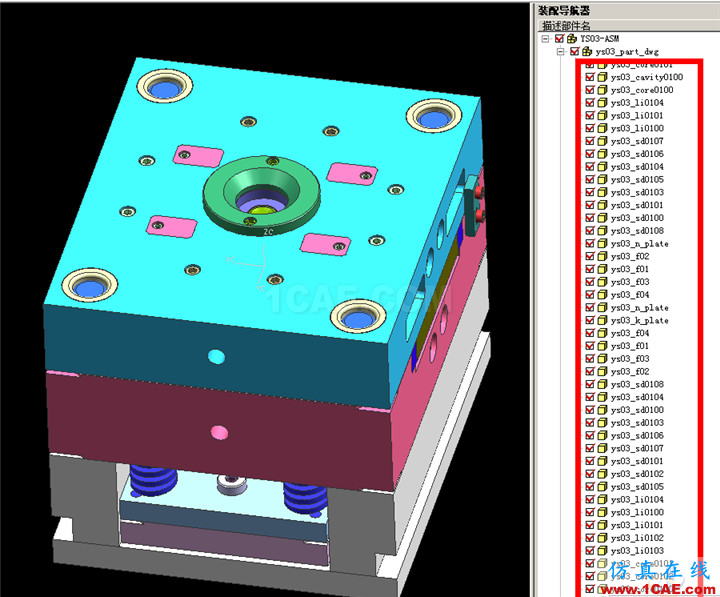
四、“ys03_part_dwg.prt”的引用集设置为空,否则会在总装配下出现双份文件
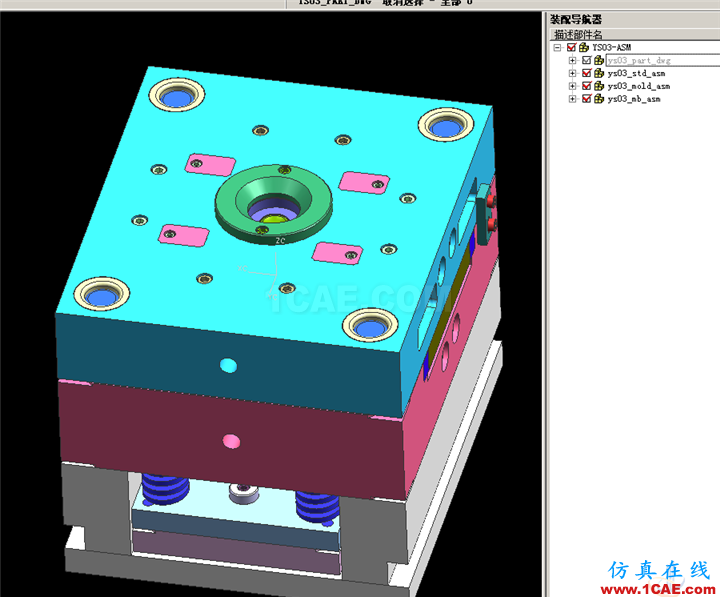
五、“ys03_part_dwg.prt”转为显示部件,进行出图。为便于摆放视图,出图部件统一转正视图
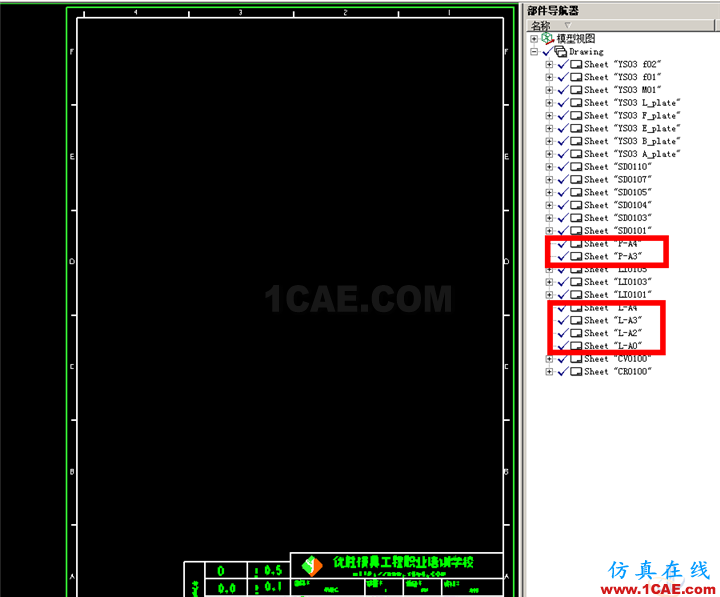
六、选择适当的图框,复制图框,并改名
七-1、UG4.0用“部件视图”命令添加投影视图
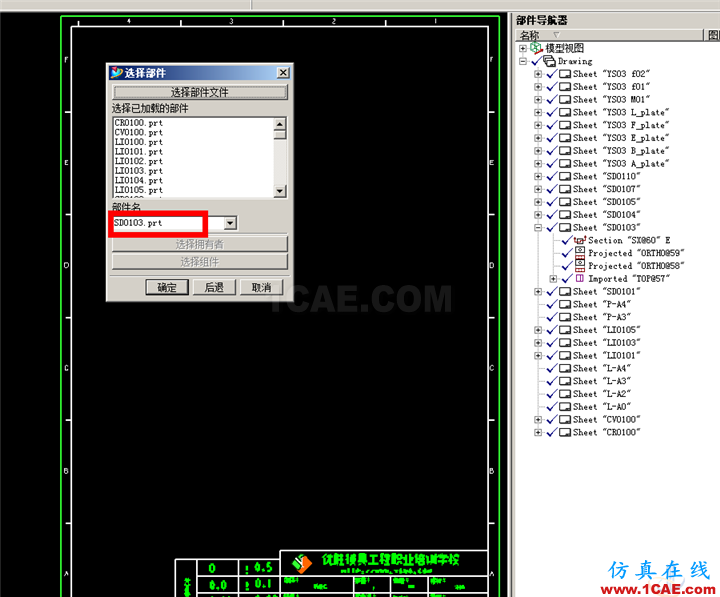
七-2、UG7.5要用“基本视图”命令中的“部件”打开要出图纸的文件名,添加投影视图
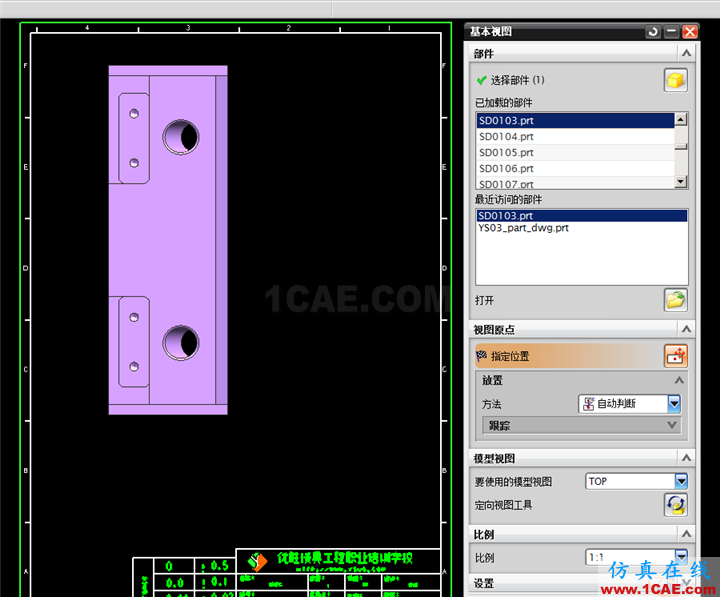
八、添加适当的投影视图
九、标注尺寸和形位公差
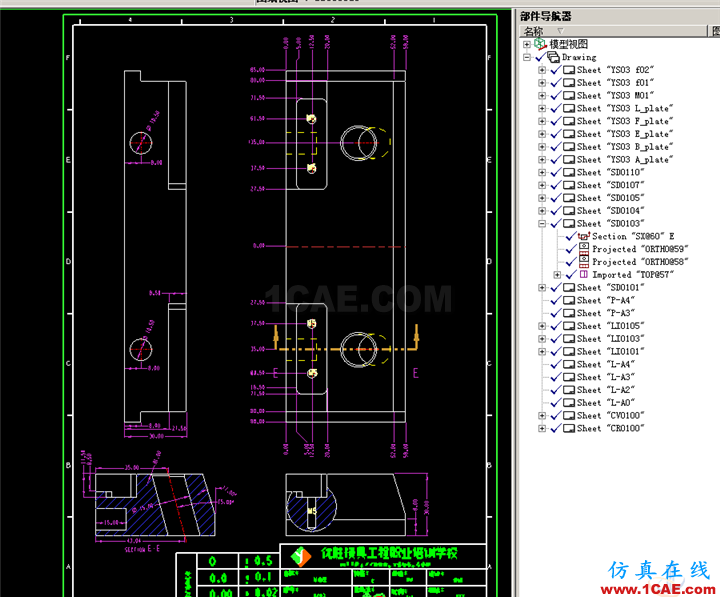
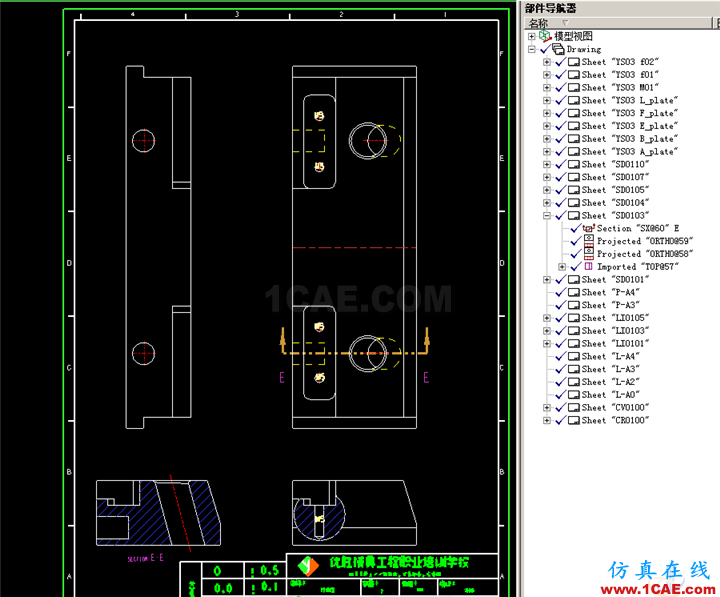
十、装配出图优点:图纸统一管理,切换查看图纸非常方便,图纸和PRT部件档案是分开的
十一、装配出图优点:小件零件可以共用同一个A4图框
十二、优胜制图定制符号,出图效率更高,图纸更漂亮
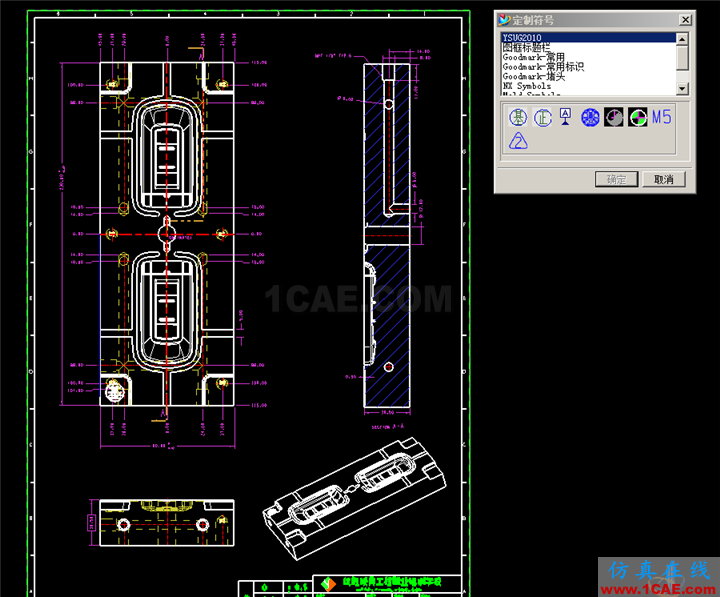
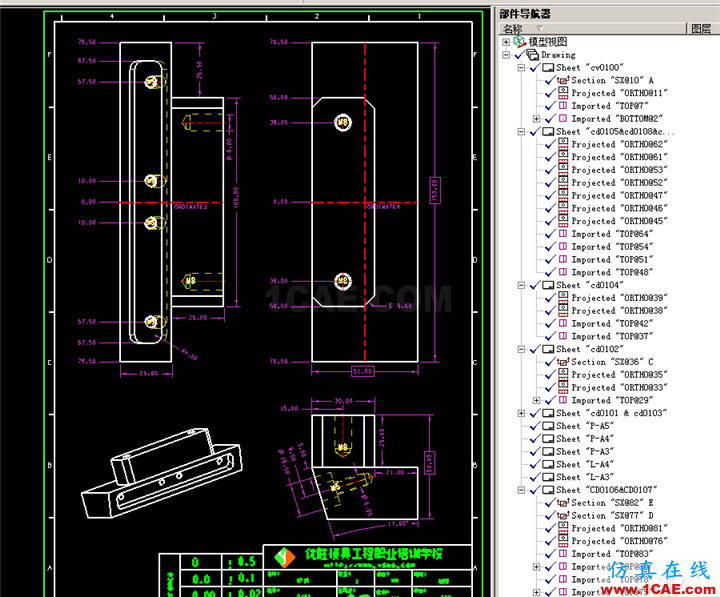
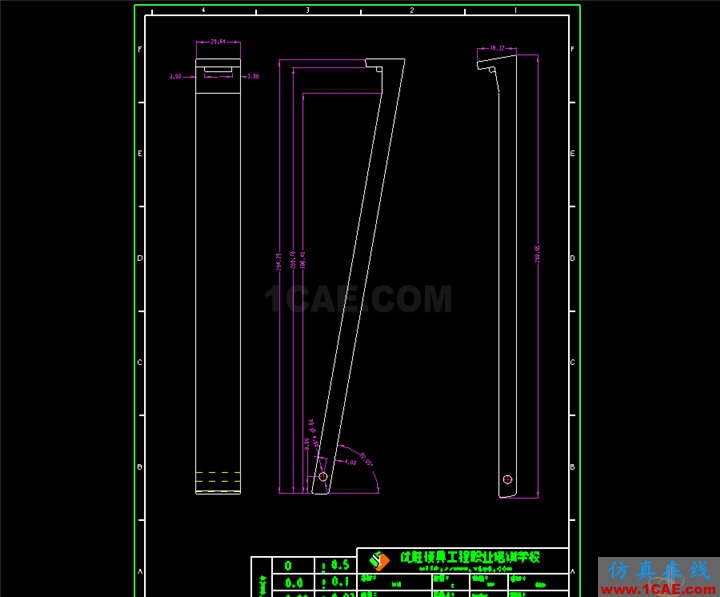
十三、UG制作的斜顶散件图
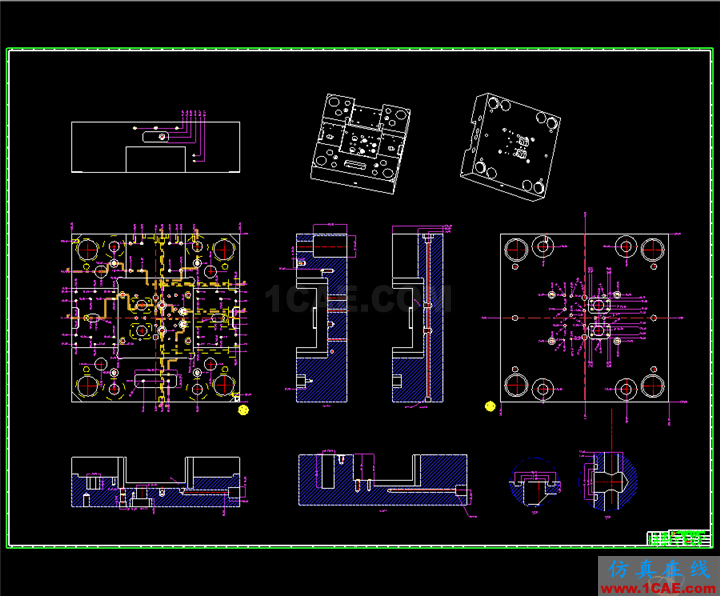
十四、UG制作的后模镶件散件图

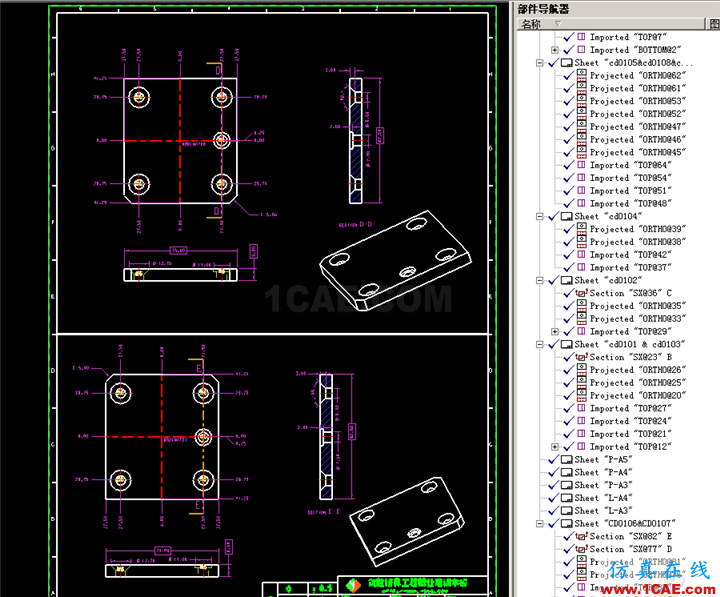
十五、后模B板散件图
相关标签搜索:UG装配出图教程【转】 ug nx培训课程 UG培训 ug模具培训 ug视频教程 ug设计教程 ug软件下载 UG-autoform-dynaform仿真一体化 ug在模具建筑室内设计工业设计的应用 UG代做 UG基础知识 Fluent、CFX流体分析 HFSS电磁分析


